Team Management
Add team members and manage their roles.
Access: Click your profile avatar → Organization → Users tab
User Roles
Member
Individual contributor
Can do:
- Create itineraries and customers
- View, edit, delete own work
- View, edit, delete assigned work
Cannot do:
- Access others' work
- Manage team or settings
Organizer
Team leader
Can do:
- Create, view, edit, delete any itinerary
- Create, view, edit, delete any customer
- Reassign itineraries and customers
Cannot do:
- Manage team members
- Update organization settings
- Manage billing
Admin
Full control (Only 1 per organization)
Can do:
- All Organizer permissions
- Add and remove team members
- Manage user roles
- Update organization settings
- Manage billing and subscription
Single Admin
Each organization can have only one Admin. To transfer admin rights, contact support.
Click Role Permissions in the top-right to view detailed breakdown.
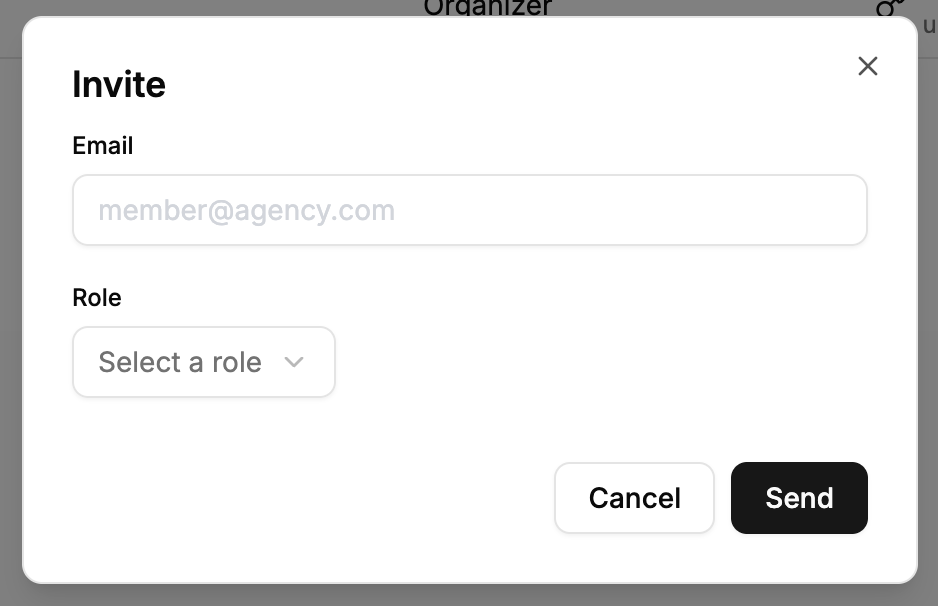
Inviting Team Members
Steps:
- Go to Users tab → Invites sub-tab
- Click Invite Team Member
- Enter email address
- Select role: Member or Organizer
- Click Send
The team member receives an email invitation that expires in 7 days.
Admin Only
Only the Admin can invite team members.
Track Invites
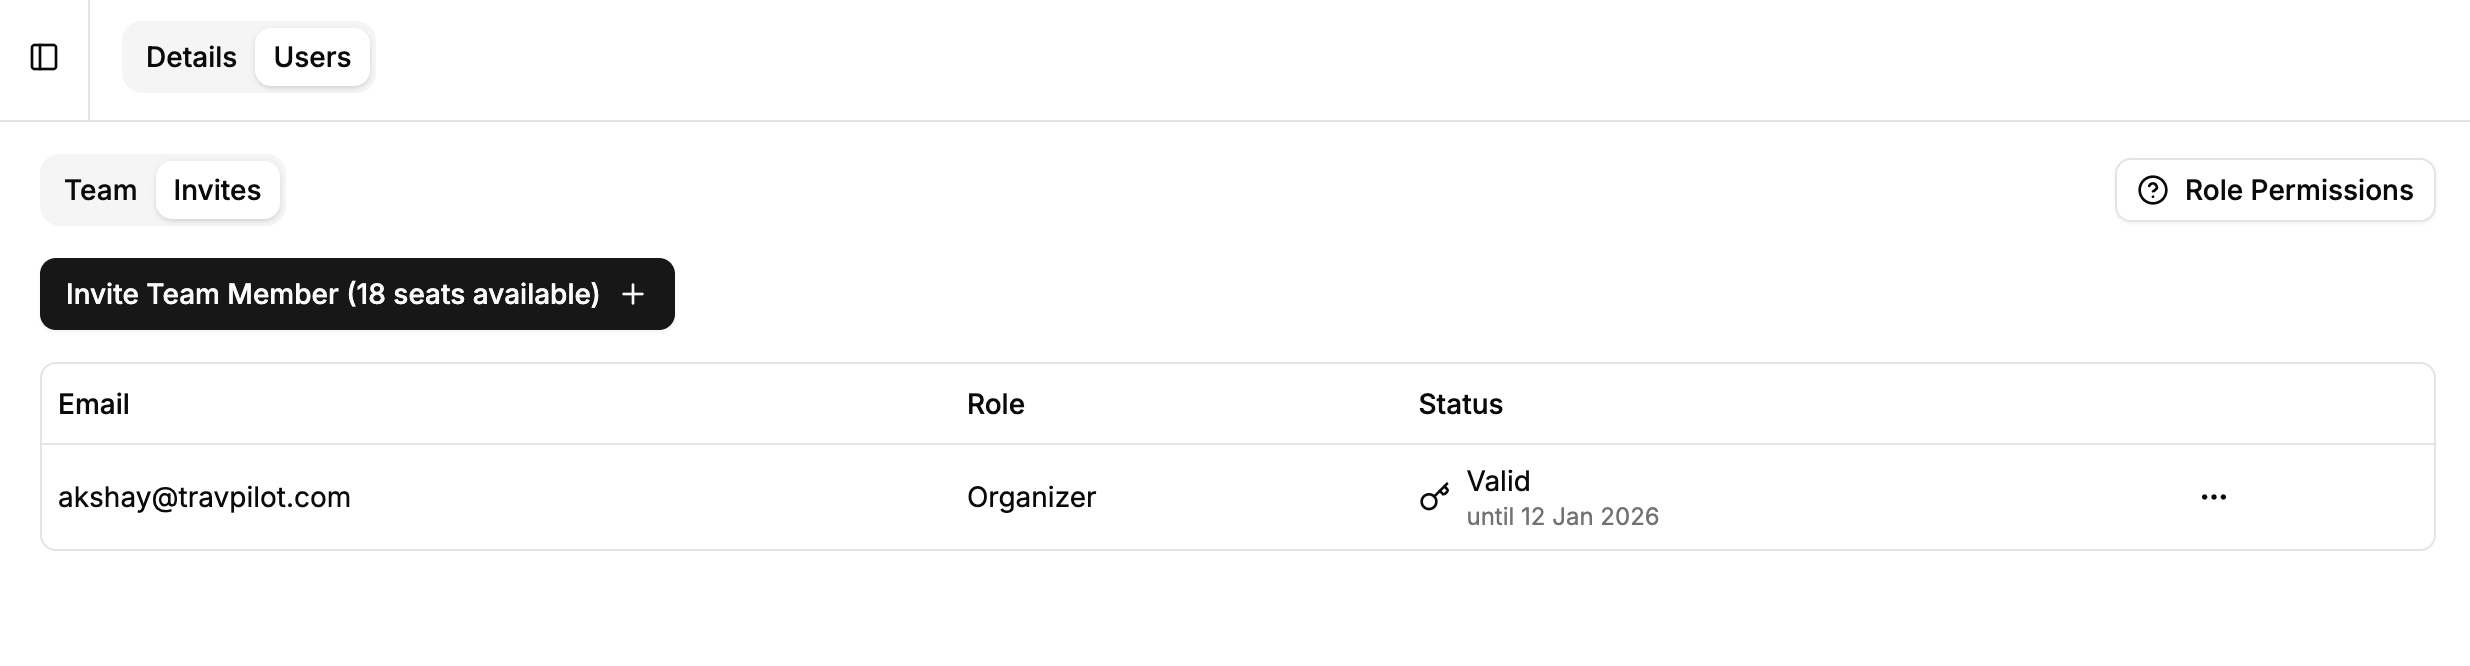
View pending invites with status and expiration date. Resend or delete using the menu (⋯).
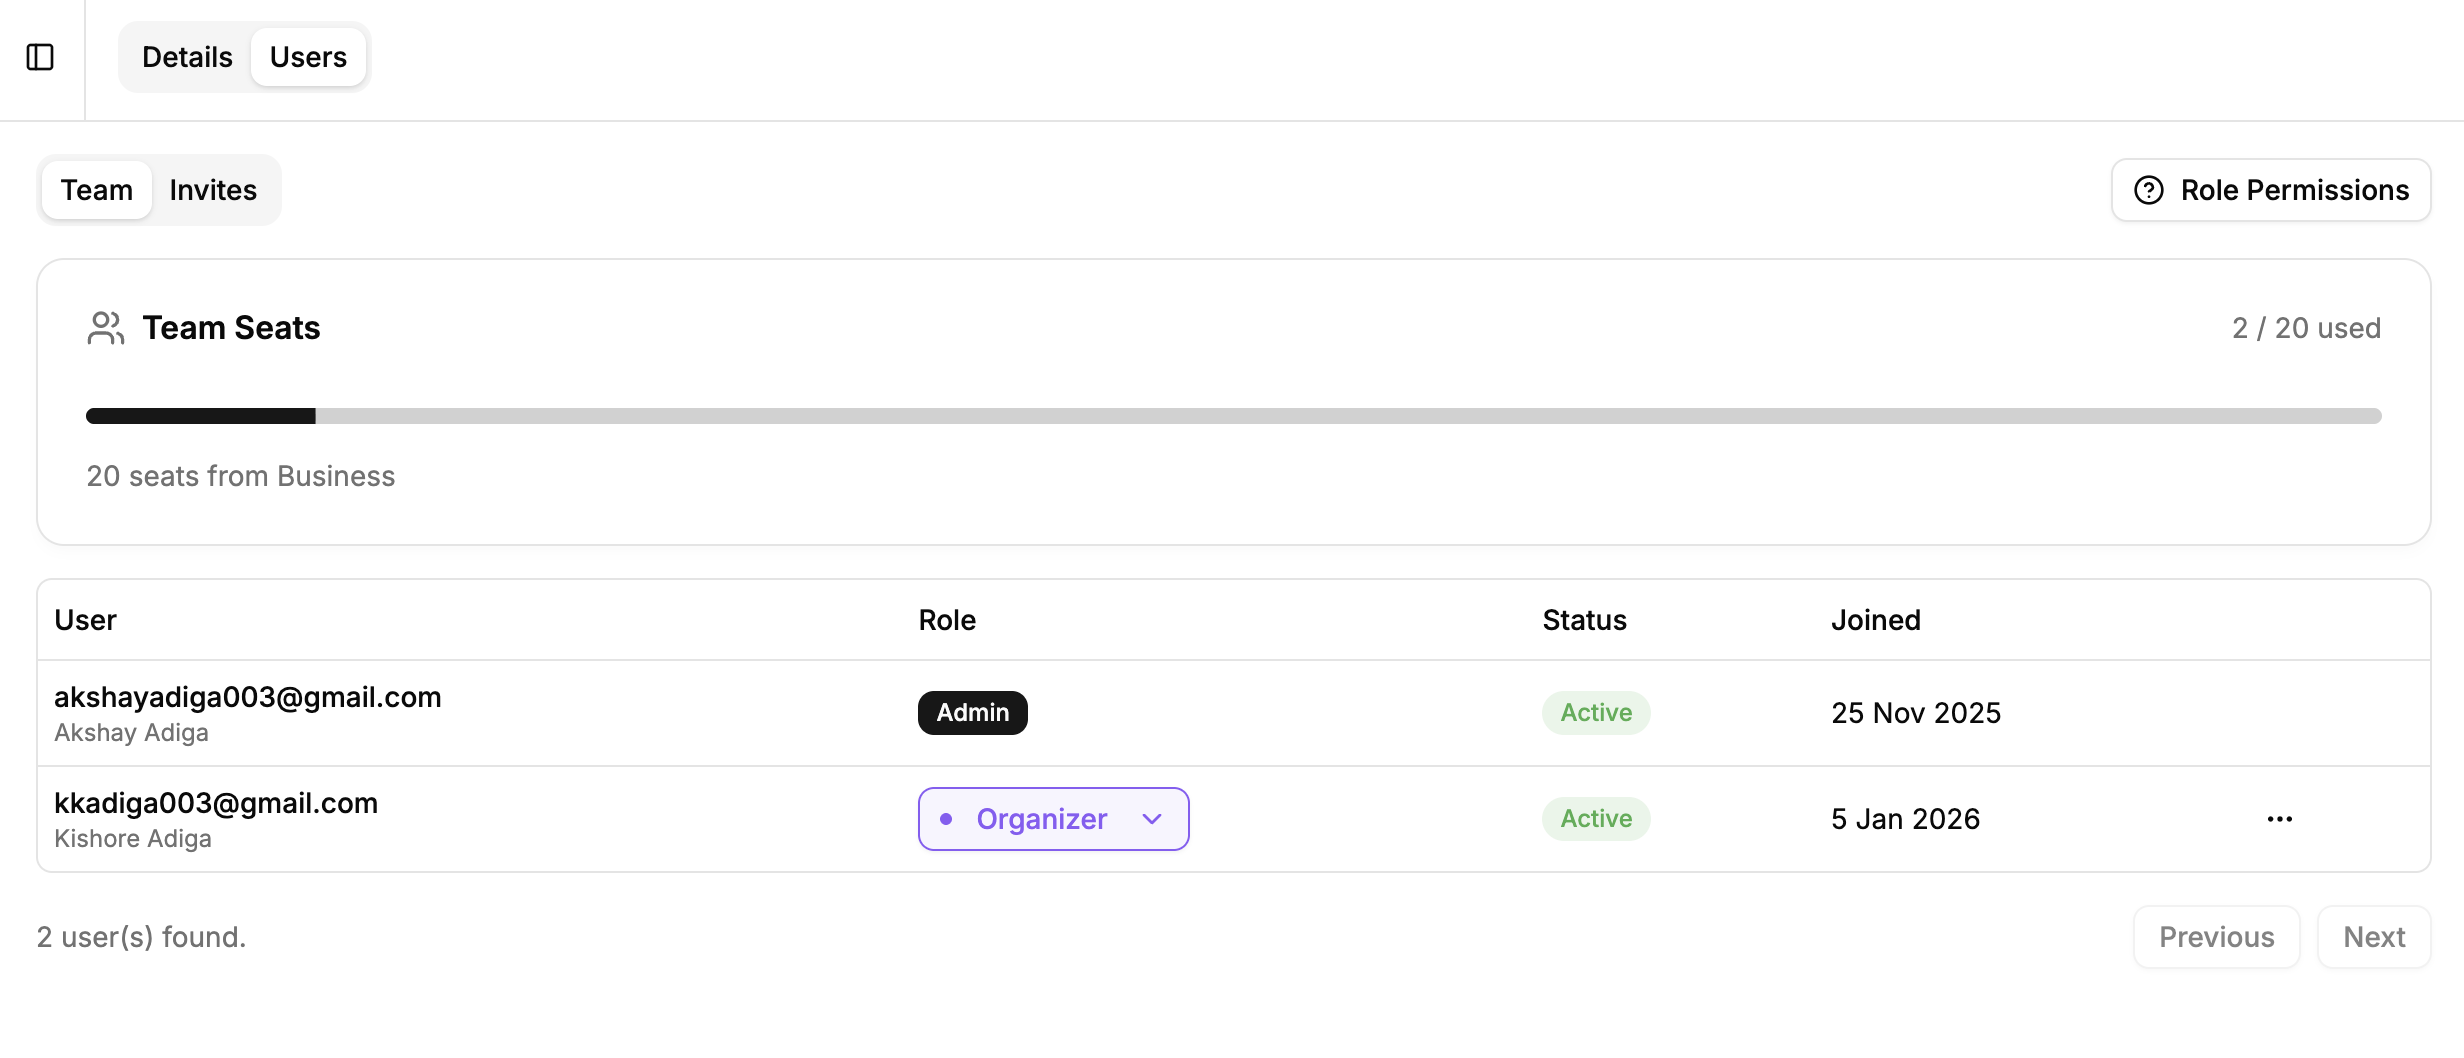
Managing Team Members
Once accepted, members appear in the Team tab:
Change Role
Admin only:
- Click role dropdown for any user
- Select Member or Organizer
- Change applies immediately
Deactivate User
Admin only:
- Click menu (⋯) next to user
- Select Deactivate
- Confirm deactivation
What happens:
- User loses access immediately
- Their work remains intact
- Frees one team seat
- Can be reactivated later
Best Practices
Role Assignment:
- Member - Individual agents who work on their own itineraries
- Organizer - Team leaders who need access to all work
- Admin - Organization owner only
Security:
- Deactivate users who leave immediately
- Review active users regularly
- Keep Admin role with organization owner
Next: Billing →